Quickstart
In this tutorial we will show you how to setup both Contember Engine and Contember Admin to create your first project.
Prerequisites
- Installed NPM version 6+
- Installed Docker with Docker Compose
Step 1: Install and run Contember locally#
It will create a new folder with basic Contember setup. After it is done:
And then install dependencies:
- Windows
- Mac
- Linux
On Mac we recommend to install dependencies directly in Docker
And you're ready to go. Just start Docker and Contember is running.
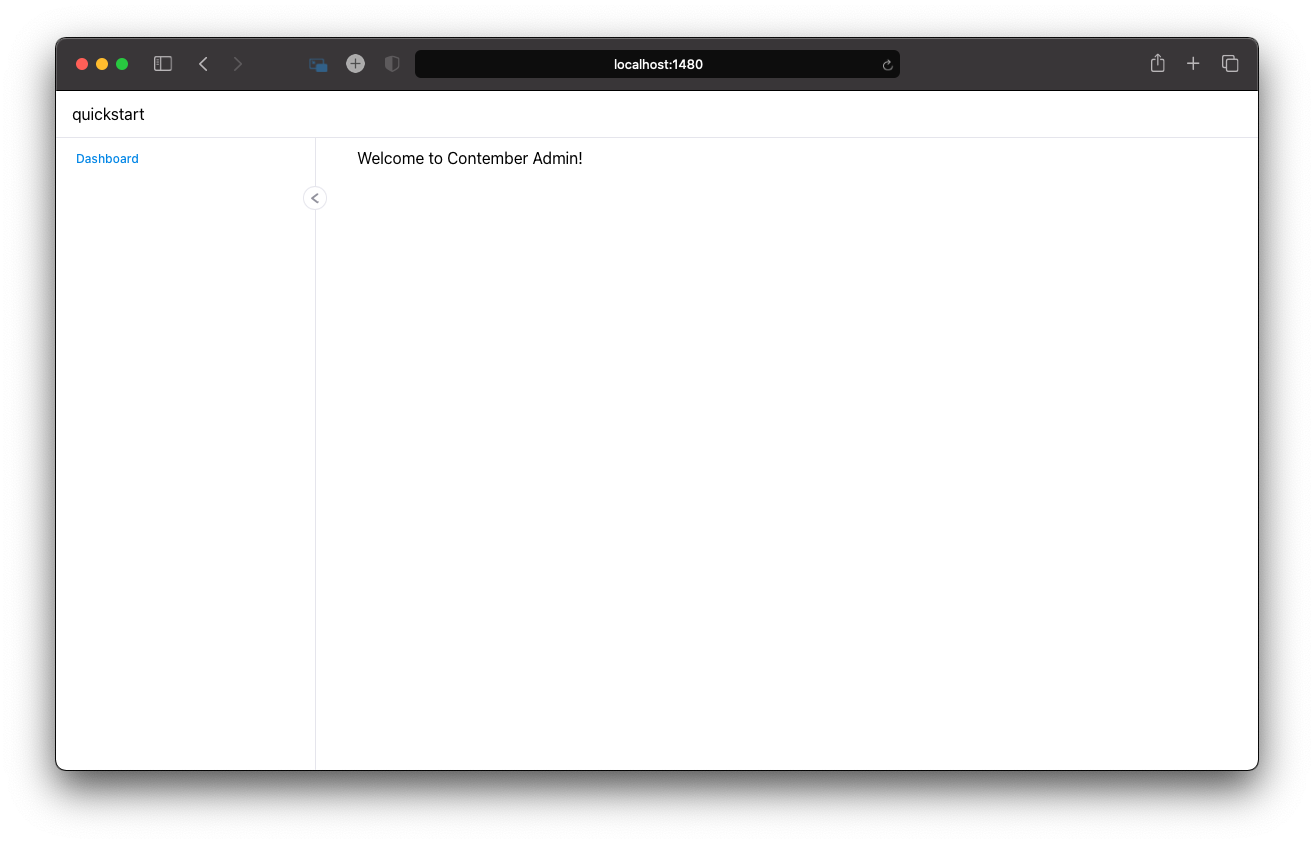
Contember is running
- Admin at http://localhost:1480
- API endpoints at http://localhost:1481 (you can authorize with token
0000000000000000000000000000000000000000)- To connect to the GraphQL you can use pre-packed client (Apollo Playground) available at http://localhost:1481/playground
- Adminer database management tool (Adminer) at http://localhost:1485
- Minio local S3 provider at http://localhost:1483 (you can sign in with contembeer / contember credentials)
- Mailhog testing SMTP at http://localhost:1484
- PostgreSQL database at localhost:1482 (you can sign in with contember / contember credentials)
Step 2: Create first project#
From the Step 1 you should have a folder that looks like this:
Create your first data model#
First you have to tell Contember Engine, how your data model looks like. The init command automatically created api/model/index.ts file, so go there.
Here you start defining your project schema. Really simple example looks like this:
- You import
SchemaDefinitionso you'll get TypeScript autocompletion. - You define your fist entity -
Page. For this example let's just add two columns namedtitleandcontent, both arestring.
Then you need to generate a database migration for Contember Engine:
npm run contemberis a Contember CLI, if you call this command you'll see all the available commands- We'll use
migrations:diffcommand. It'll go through your schema and generate migration - how to get from previous state to your new one. - This command needs two parameters: first is name of your project (
quickstartin our example) and then name your migration. It can be anything you want.
Run this command and choose an option Yes and execute immediately. It will create your migration and execute it imediatelly (you have to confirm this). Now if you look into your database, you'll see there table page with three columns: id, title, content. Nice.
Create your administration UI#
Now we have something we want to edit in UI. Let's start by adding a listing page for our pages.
Add listing page#
Go to admin/pages and create new file Pages.tsx.
- Import
@contember/adminpackage for TypeScript autocompletion. - Export new
PageList(you can name it anyway you like) - Use
TablePagecomponent. - Tell it what entitities you'd like to edit
Page(same name we used in model) - Name your list (
pageName="pages"). Name is used for url in administration. - Tell it what data you want to see. We'll want to see
titlein our example. (And added it intoTableCellwhich we'll make use of later.)
If you go to localhost:1480/pages you'll see list of your pages. Which is empty as we didn't add any data there yet.
Let's add some data.
Add create page#
- For simplicity we'll add it to the same file.
- This time we'll use
CreatePagecomponent. - We'll tell it what we want to add (
Page), how is this component named (pageNew). - We'll use two new components -
TextFieldandTextAreaFieldand tell them what fields to edit.
Now at localhost:1480/page-new you can create new page. And if you go to the list of page you'll see the data are there.
But it doesn't work very well. One of the thing missing is to go to edit mode after you created new page. So let's start by adding edit page:
Add edit page#
- For simplicity we'll add it to the same file as well.
- Looks almost the same as create page - but we have to tell it which page to edit.
Let's use it. We'll redirect user from create page to redirect page after the page is sucessfully created:
- We added two new things:
rendererPropsandredirectOnSuccess. rendererPropsare pretty simple in this case: just added title so we know that we're on this page.redirectOnSuccessis more complicated: we take user topagewith id of the newly created page.
Now if you create new page you're automatically redirected to edit page.
What's missing is edit button to the list of pages.
- We've added new
TableCelland into it aPageLinkByIdcomponent. - This component is pretty simple - it will create a link to a component called
pageand sends id as parameter. Which is actually our edit page. - Minor touch is use of
shrunkwith tells the cell to be as small as possible.
That's it. One last thing is to add our pages to the left sidebar:
Add pages to side menu#
And that's it!